Tuesday, June 25, 2013

Stylish Jars


This is one of the earlier projects I did. I did not take a lot of pictures in the making of these jars. I did go a little jar crazy. Dumping pickles and olives in a Tupperware just so I could I use the jar. Calling on friends and family to give me their jars. I ended up with 5 total that I actually used.

I see on Pinterest blogs making these jars using old toys. I might have to try that for the kids.

Here was my first go. A peanut butter and jelly jar. Yes, my purse is in the photo didn't know I would have a blog someday. I might have rushed right out to buy a knob from Lowe's and was just so excited snapped a photo.


I let the jar soak in hot sudsy water to help remove the label and sticky glue. Next I spray painted the lid. I chose oil rubbed bronze since that is what we are redoing our bathroom in.

I used a primer and then spray paint on the first lid, but it turned out very bumpy. For the rest I just spray painted and skipped the primer. The result was much better as the lids were very smooth.

I went to Lowe's and picked out an inexpensive cabinet knob I think the cost was $1.99 for each of the knobs. I had my husband put the knob on since he had to trim down the screw. I don't know what he used or how he did it, but the end product looks great in my bathroom.


Hope it gives you an idea. Enjoy and have fun.

Thursday, June 20, 2013

Elmo Birthday Party


This party is what started me on my baking adventure and getting me into the DIY crafty things. This was Hailey's 2nd birthday and I started seeing all the different cake pops out there. I thought why can't I do that, so I gave it a go.

The cake pops were not as easy as they looked. I started off on bakerella's web site and used her basic cake pop recipe. Which was any flavor boxed cake mix you wanted.  It took quite a few attempts to make what I thought was a simple Elmo cake pop.

Elmo beheaded.

After several attempts. Tada success.


I even got my husband into the madness. Make me a sesame street sign. He finished it the morning of the party.


All things Elmo. The fruit tray which is just strawberries, blueberries, oranges, and cream cheese dip. I also added mason jars with the goldfish crackers in them.


The cake. My sister n law is a trained pastry chef and the cake is her doing. 


Everything turned out great. From the DIY pom poms to the trashcan punch. My tribute to Oscar the grouch. Basically Hi-C with slices of oranges and limes in it.

Hope it gives you some ideas.

Key Lime Sea Turtle Cupcakes


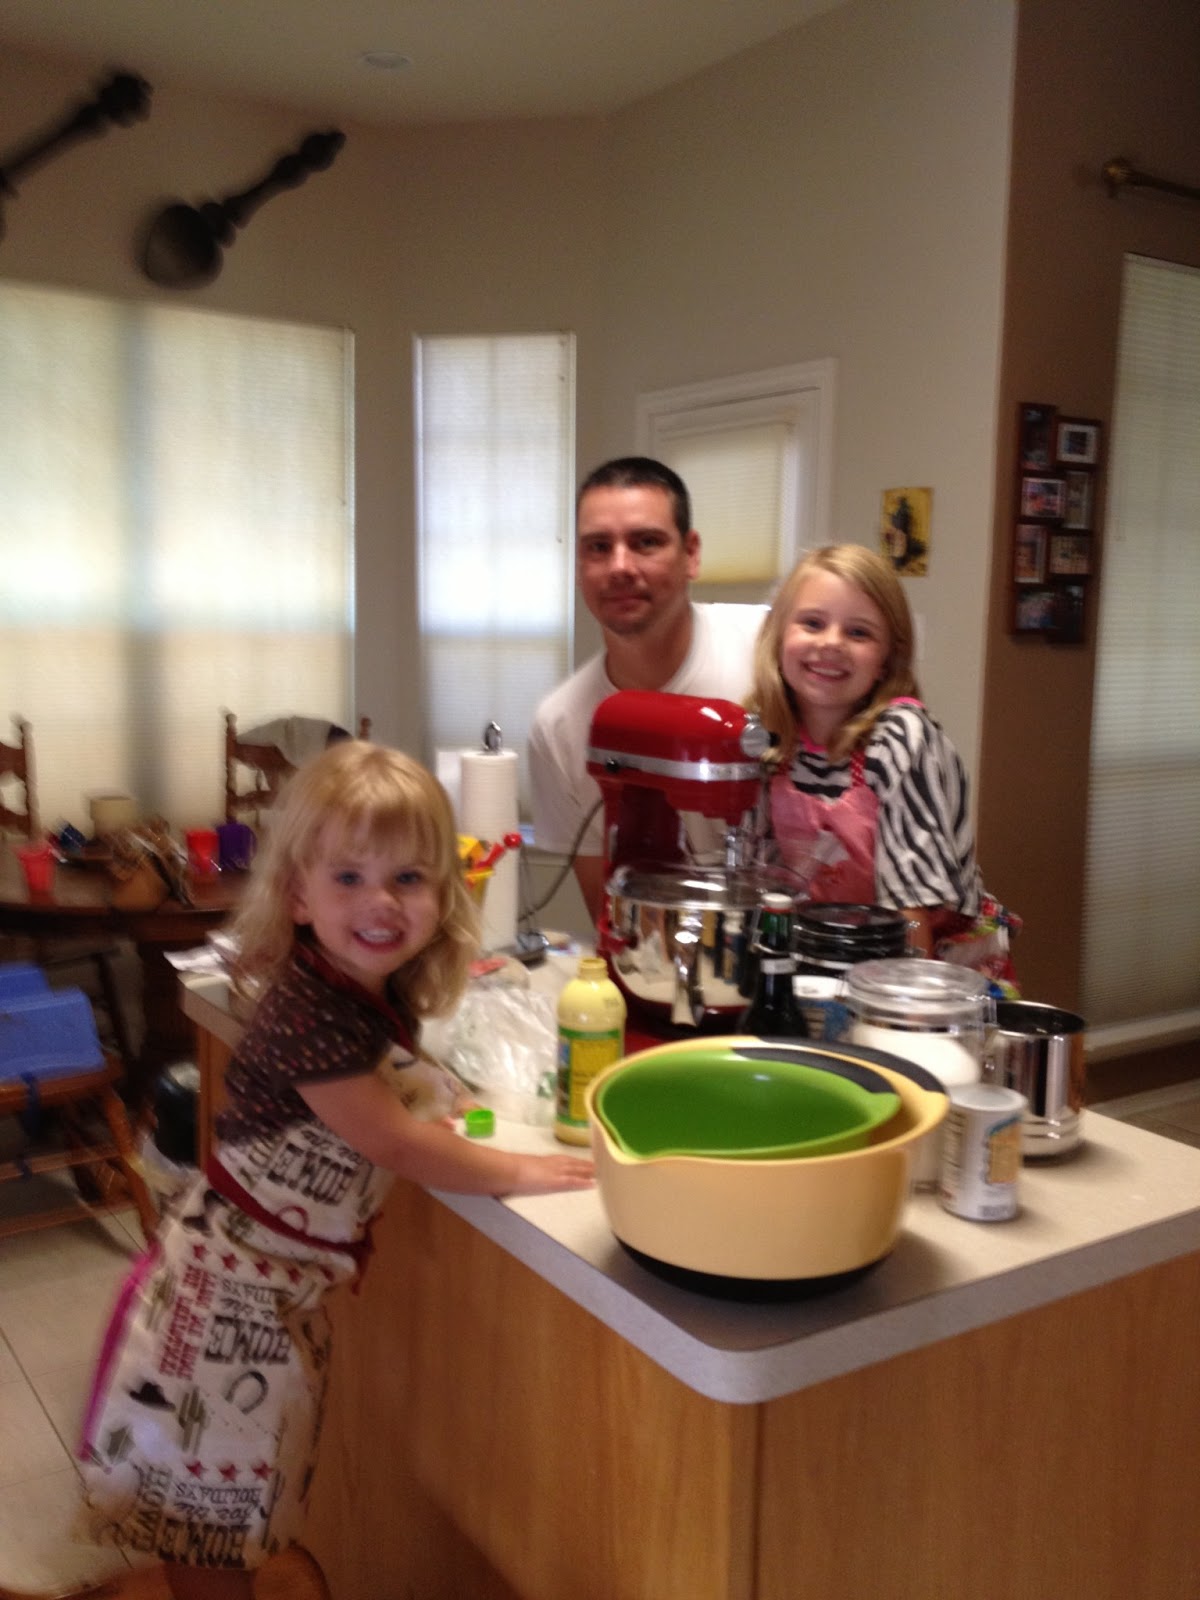
I saw the cutest cupcakes on the allthingscupcakes web site. For some reason when I saw the Sea Turtles I automatically thought Key Lime Pie. Well me and the Lil' LaRoux's decided to give it a go. Husband made a rare appearance.


For the cupcakes:
1 1/2 cups flour sifted
1 tsp baking powder
1/4 tsp salt
1/2 cup milk
1 tsp vanilla ( I always add a little more) Love the way it smells.
2 tbsp Key Lime juice I found it in the juice aisle.
1 tbsp key lime zest
1/2 cup butter (1 stick) room temp
1 cup sugar
1 lg egg
2 egg whites

For the frosting
1 cup (2 sticks) butter (firm)
pinch of salt
3 1/2 cups confectioners' sugar
1/2 tsp vanilla (again I added a smidgen more)
1 tsp key lime juice
1 tbsp key lime zest

For the turtles:
Peach Gummy Rings
Gum Drops
Fruit Slice Wedges
Mini Choco Chips

Pre - heat oven to 350. I used cupcake liners with these cupcakes I sprayed the liners with Pam for baking just so they wouldn't stick.

In a bowl whisk together flour, baking powder, and salt. Set aside In a small bowl mix the milk, vanilla, key lime juice and zest. Set it aside.

With the electric mixer using the paddle I creamed the butter and sugar till light and fluffy. Gradually add the sugar until mixed and fluffy. Reduce your speed on the mixer and add the egg and egg whites until blended.

Keep the mixer speed on low or you will have a dust cloud. Slowly add half the flour mixture that you set aside earlier. Once blended add the milk mixture that was also set aside. Once blended you can add the remaining flour mixture. I had to stop the mixer and scrap down the sides a few times to make sure it was well blended.

Spoon into your lined muffin pan and place in the oven. Cupcakes are done when the toothpick inserted into the middle comes out clean. Let the cupcakes cool completely before frosting and decorating.

To make the frosting:
Beat together butter and salt until fluffy. Slowly add in the confectioner's sugar again turn the mixer to slow or you will get covered in dust. When combined add the vanilla, key lime juice and zest.

You can adjust the key lime juice in the cake batter and frosting to suite your taste.

This is where I clean up the mess and bath the girls. They are usually covered in something sticky after helping me.


Now to decorate.

Frost the cupcakes once they are cooled. I layered it on pretty thick, so my candies would really stick. I placed the peach gummy ring in the center of the cupcake. The girls then added the gum drop in the center of the ring and the green gum drop for the head. To make the flippers I took the fruit wedges and sliced them , so they kept their shape but were a lot thinner. Should have taken a picture of that part. Next the eyes. I added some of the frosting into a sandwich bag and snipped a lit piece of the corner off. Then I just put a dot on each side of the gum drop and placed a mini choco chip in it.

I think the cupcakes turned out rather well and the girls were very proud of their work.

Have fun and enjoy!!!!

Friday, June 7, 2013

Cupcake Topper Whoopie Pies


To make the filling you need the following:
1/2 cup butter softened (1 stick)
1 - 8oz package cream cheese
1 - 1LB box of powdered sugar - or 2 cups.
1 tsp vanilla

Mix the softened butter, cream cheese, and vanilla.


After it is mixed I added the powdered sugar. Slowly a little at a time. I stopped a couple of times to scrap the sides and the bottom of the mixing bowl.

I added a little bit of blue coloring, since that is now Abigail's new favorite color.

I then spooned the mixture into a sandwich bag and snipped a corner off. I have to say that the tops were very sticky, so I dusted the foil with powdered sugar.

I then piped the filling on one side and found a matching size to sandwich. I have to admit these were not very pretty. After I completed I placed in the fridge for a while. We went to dinner, so at least 2 hours. 
When I came back I took them out and re-dusted with powdered sugar. Still don't think they are very pretty, but they are tasty. I dusted them using a flour sifter, but a shaker would work too.

Enjoy and have fun.

Graduation Cupcakes


This is my second batch of these cupcakes. One was for my younger sister's High School Graduation party and the other was for Abigail's 1st grade graduation.


It is my hot mamma cake recipe minus the cayenne pepper. Then some store bought goodies for affect.
Grease a mini muffin pan and pre-heat oven to 375. Do not use cupcake liners.

2 Cups water
1 cup Cocoa powder

Place 2 cups water in a pot and right before it starts to boil I add the 1 cup cocoa powder. I make sure the cocoa powder is dissolving by mashing the clumps up against the side of the pot. Bring to a boil and set aside.


While I am boiling the cocoa I start creaming the sugar.

1 cup butter (2 sticks)
2 1/4 cup sugar

Place 2 sticks of room temp butter and the sugar in a large mixing bowl. I put the mixer on level 3 and let it do its thing. The butter and sugar will like this.


Leaving the mixer going I added the following.
4 eggs
2 tsp baking soda
1/2 tsp baking powder
1/2 tsp salt
1 1/2 tsp vanilla
2 3/4 cups flour

When the above is well mixed and creamy I add the cocoa mixture. I had to turn off the mixer a few times just to make sure the 2 mixed really well.

Then fill your greased mini muffin pan. This recipe will make at least 48 mini- muffins. Bake until a toothpick comes out clean. When finished baking set aside to cool. After the pans can be touched very gently remove the cupcakes from the pan. Hopefully they didn't stick.

Once the cupcakes have cooled completely. You will need to slice the tops off, so the cupcake will lay flat when turned upside down.


Now comes the fun part. DECORATING.
1 can chocolate frosting
large fudge graham cracker cookies (I bought 4 pkgs but whatever you need)
1 bag of spaghetti gummies
mini M&M's

For time sake I bought a can of chocolate frosting. Using a large spoon I frosted the top and put it on rather thick, since this is the glue that will hold the cookie on. Place one cookie on the top. After that I used the end of a chopstick and placed a mini m&m in the center. Then I added another little dollop and placed the spaghetti gummy in it.

Now what to do with all the tops I cut off. I know WHOOPIE PIES.

Enjoy and Have Fun.